


I think there’s not a lot of room for competition, it’s either Gran Turismo on PS5, Forza on Xbox or… um… Mario Kart? On Switch?
You could say the same thing about Football games. There’s Madden and NCAA and that’s pretty much it.
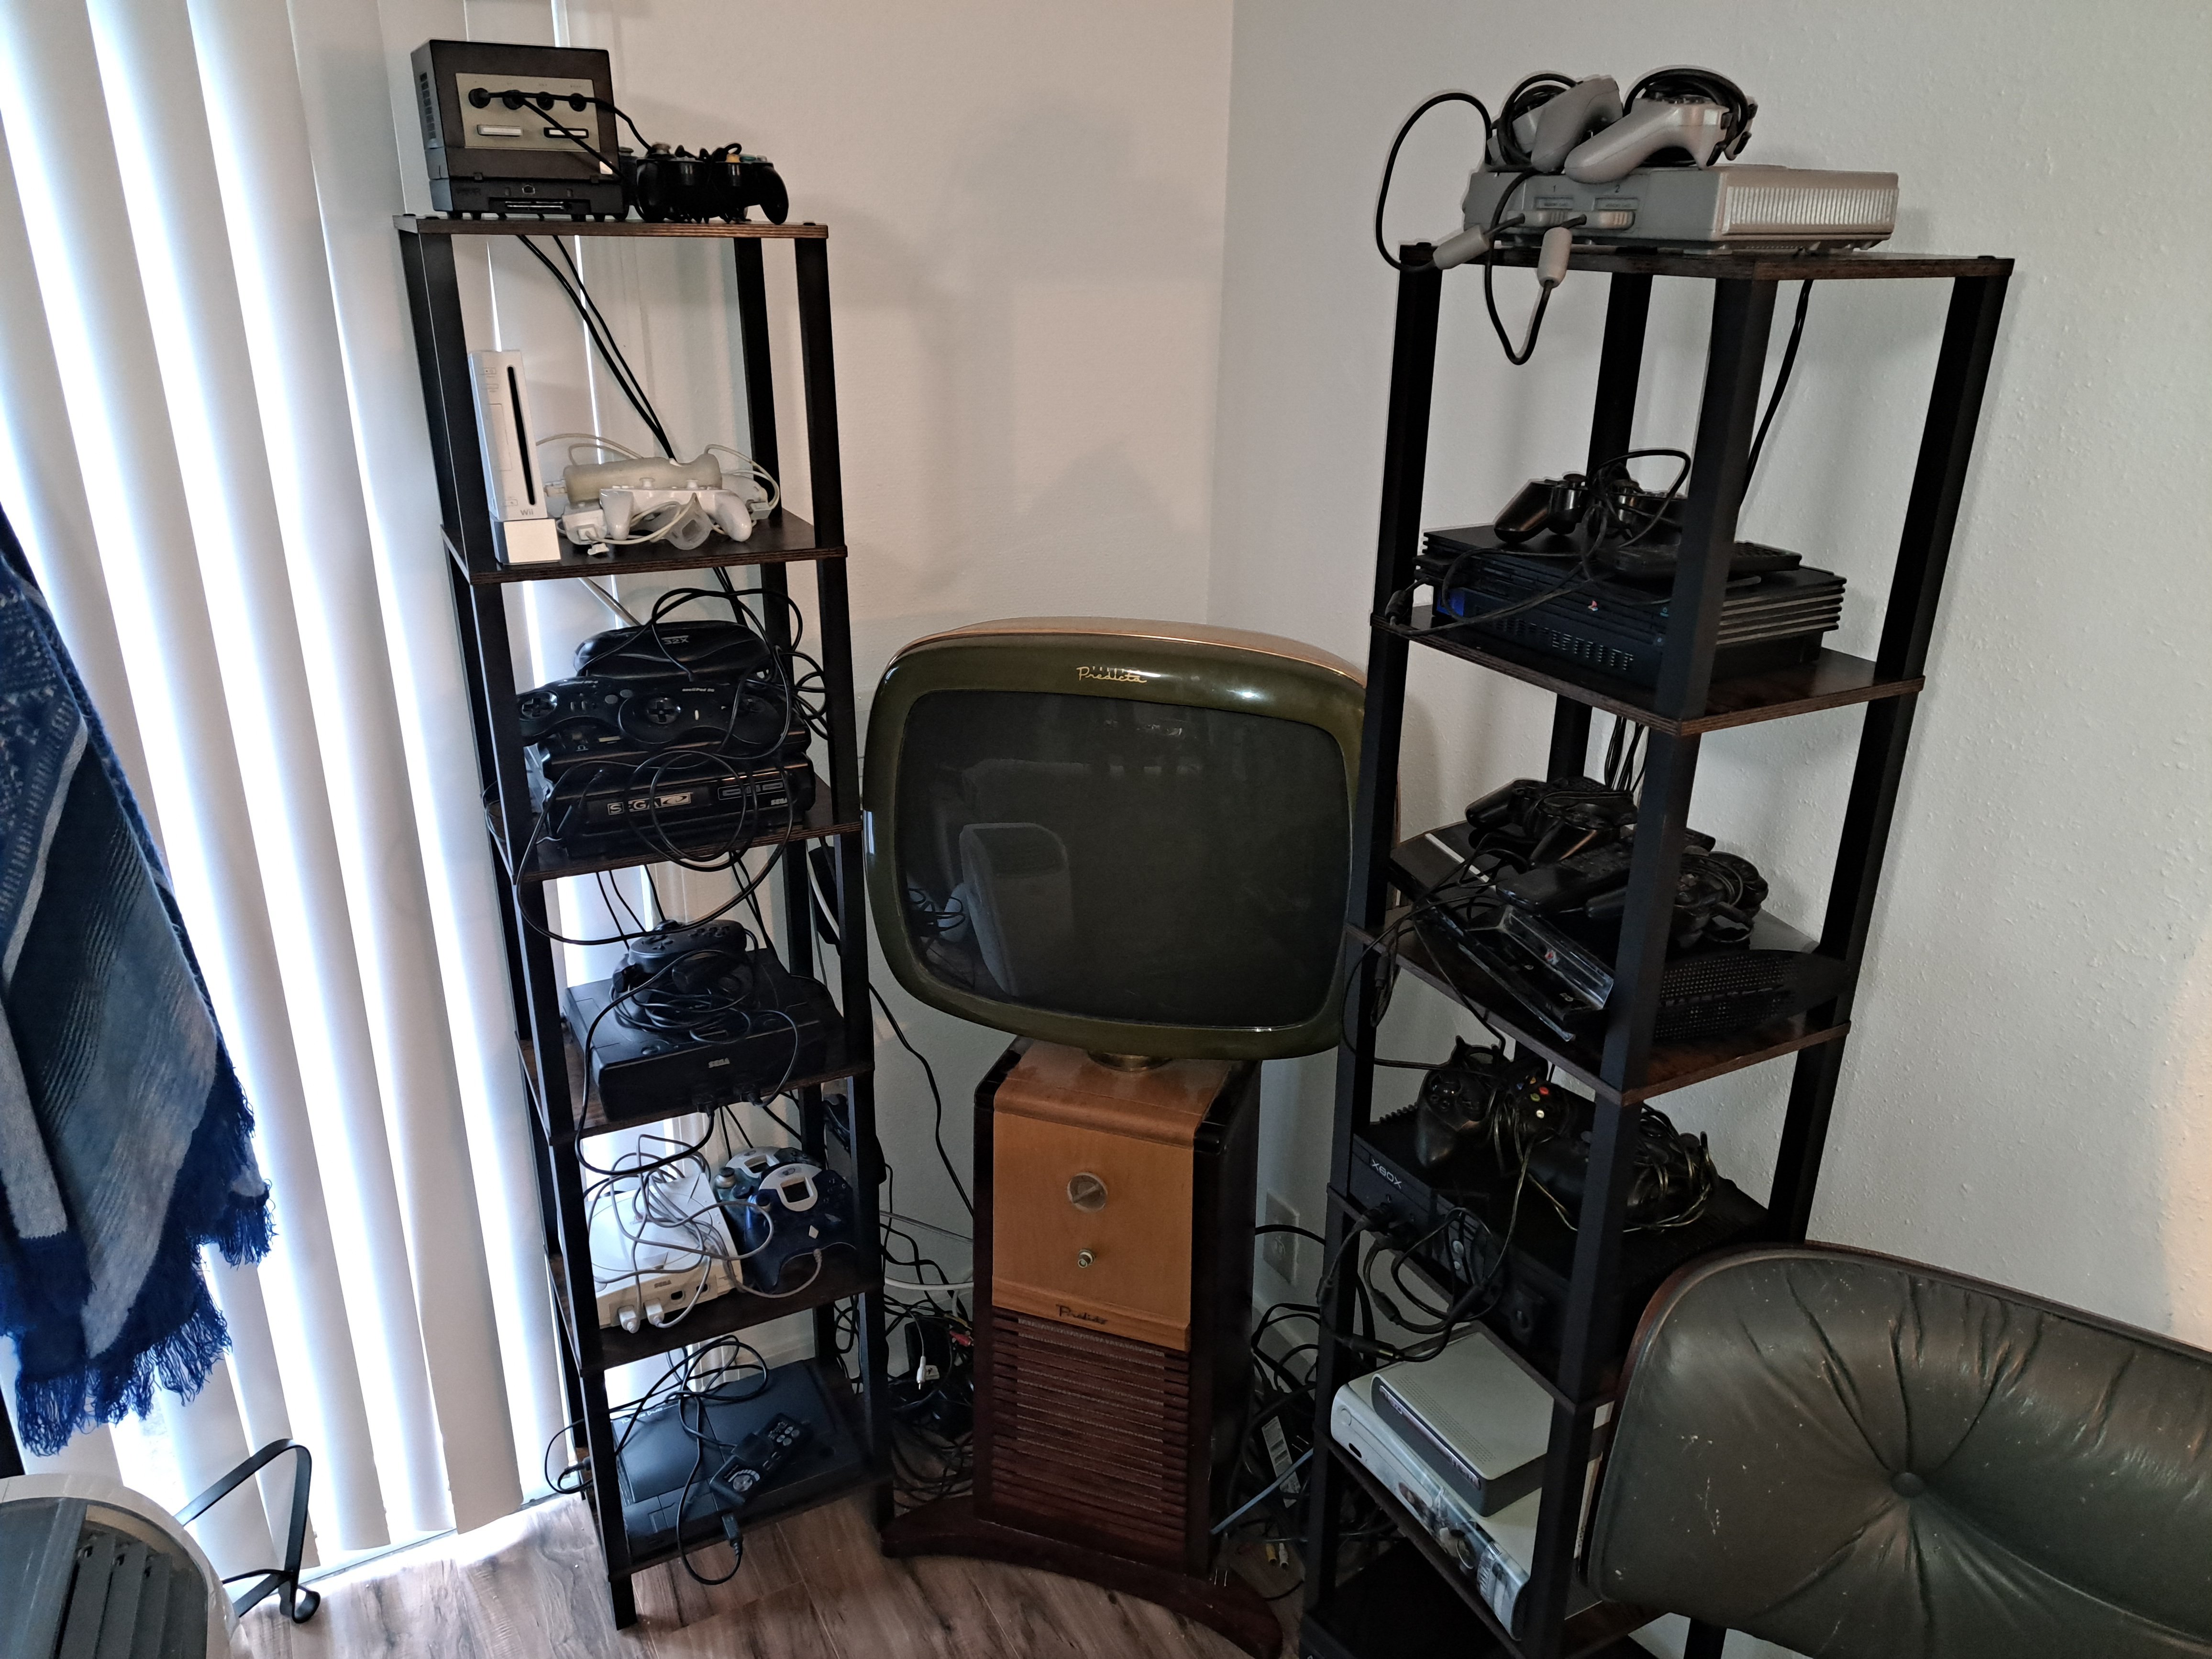
The era of having niche games like Metropolis Street Racer, Project Gotham, Speed Devils, or, heck, go back to the OG Playstation with Wipeout, Jet Moto, Destruction Derby… that’s long over.
Which is a shame because I played the HELL out of MSR/PGR.


“Khajiit has wares, if you have coin…”