
45·
2 months agoWould anything have prevented an increase in rates? I’d bet if everyone got out of line, the rate increases would have been the same or higher. The only difference would be no one received $100.
Would anything have prevented an increase in rates? I’d bet if everyone got out of line, the rate increases would have been the same or higher. The only difference would be no one received $100.
Only those who could lift more than average survived for the photo, obviously.
I haven’t pumped gas in 3 years and it’s glorious.
Really interesting! I wonder what would happen if you combine these two properties. Suppose some length of the middle is all walls, and the hooks are infill, or vice versa. Is there an optimal mix that maximizes the weight it can support in your testing, or have you found the optimal configuration (with infill along the entire length) already?

I recently went through these exact pains trying to contribute to a project that exclusively ran through Discord and eventually had to give up when it was clear they would never enable issues in their GitHub repos for “reasons.”
It was impossible to discover the history behind anything. Even current information was lost within days, having to rehash aspects that were already investigated and decided upon.

You can also mark designs as ready-only and they no longer count, so this limit is really 10 concurrently editable designs. I just keep everything read-only unless I’m actively working on it.
Download Bambu Studio and slice some multi material prints. The preview tells you how much filament will be purged. There are several settings and model characteristics that will affect the purged volume.
Flushing volume: this directly controls the volume purged while swapping between any two filaments. Darker to lighter colors will need a higher flushing volume. You’ll also need a higher flushing volume when changing materials.
Purge to infill: this reduces the purged volume by accounting for the volume that can be printed as infill before reaching perimeters. It’s not very effective for smaller models because there is just less infill area.
Printing multiple copies: this reduces the ratio of waste to printed parts, since for each layer you’ll need the same number of filament swaps.
Part orientation: often the part orientation will have a dramatic effect on the number of filament swaps. Imagine a blue cube with a red face. This can be optimized to one color swap if the red face is horizontal instead of vertical.
Print sequentially: For multiple parts on the plate, grouping them by color similarity and printing groups sequentially can reduce the number of swaps. Imagine two blue parts and two red parts on the same plate. This can be optimized to one color swap for the entire print instead of one swap per layer.
In my experience, the waste for average complexity multicolor prints is similar in scale to supports, and is easily offset if you’re upgrading from a less reliable printer. Failed prints are filament waste too.
Haha I’ll bite. What’s your suggestion?
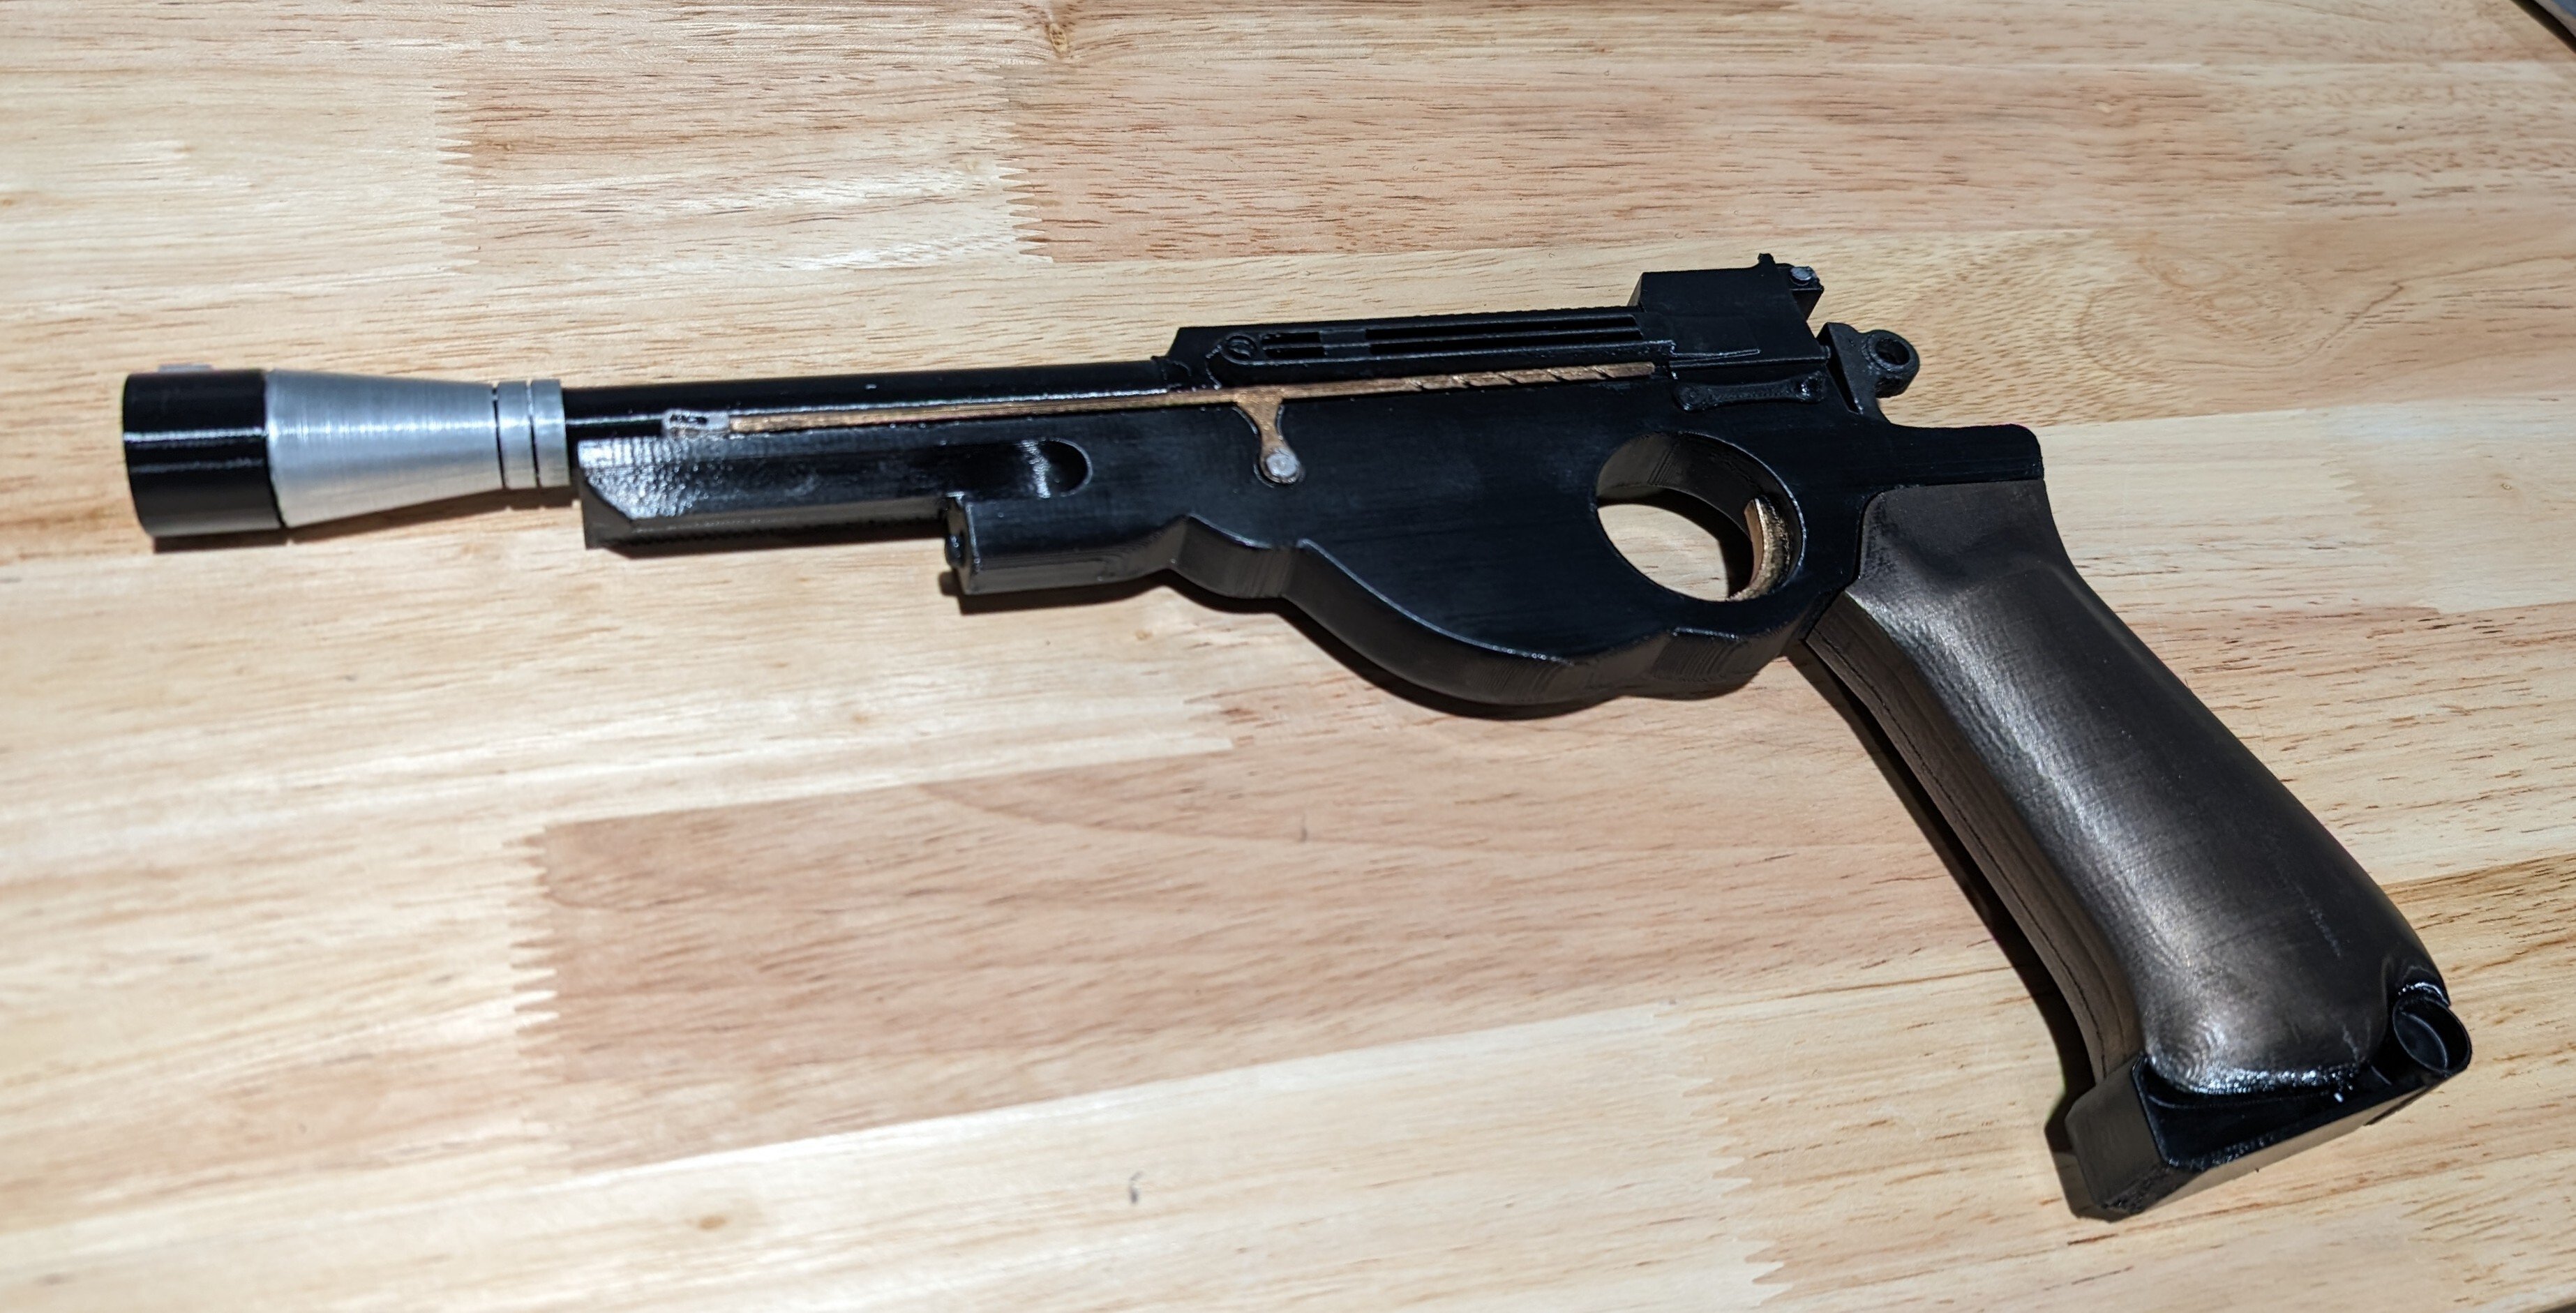
I also made the pistol from Galactic Armory which is not in the above picture. Assembled from PETG parts and painted using Rubb n Buff metallic paints.
Thank you! This was my first large project like this, and there were definitely times when I got sidetracked too.
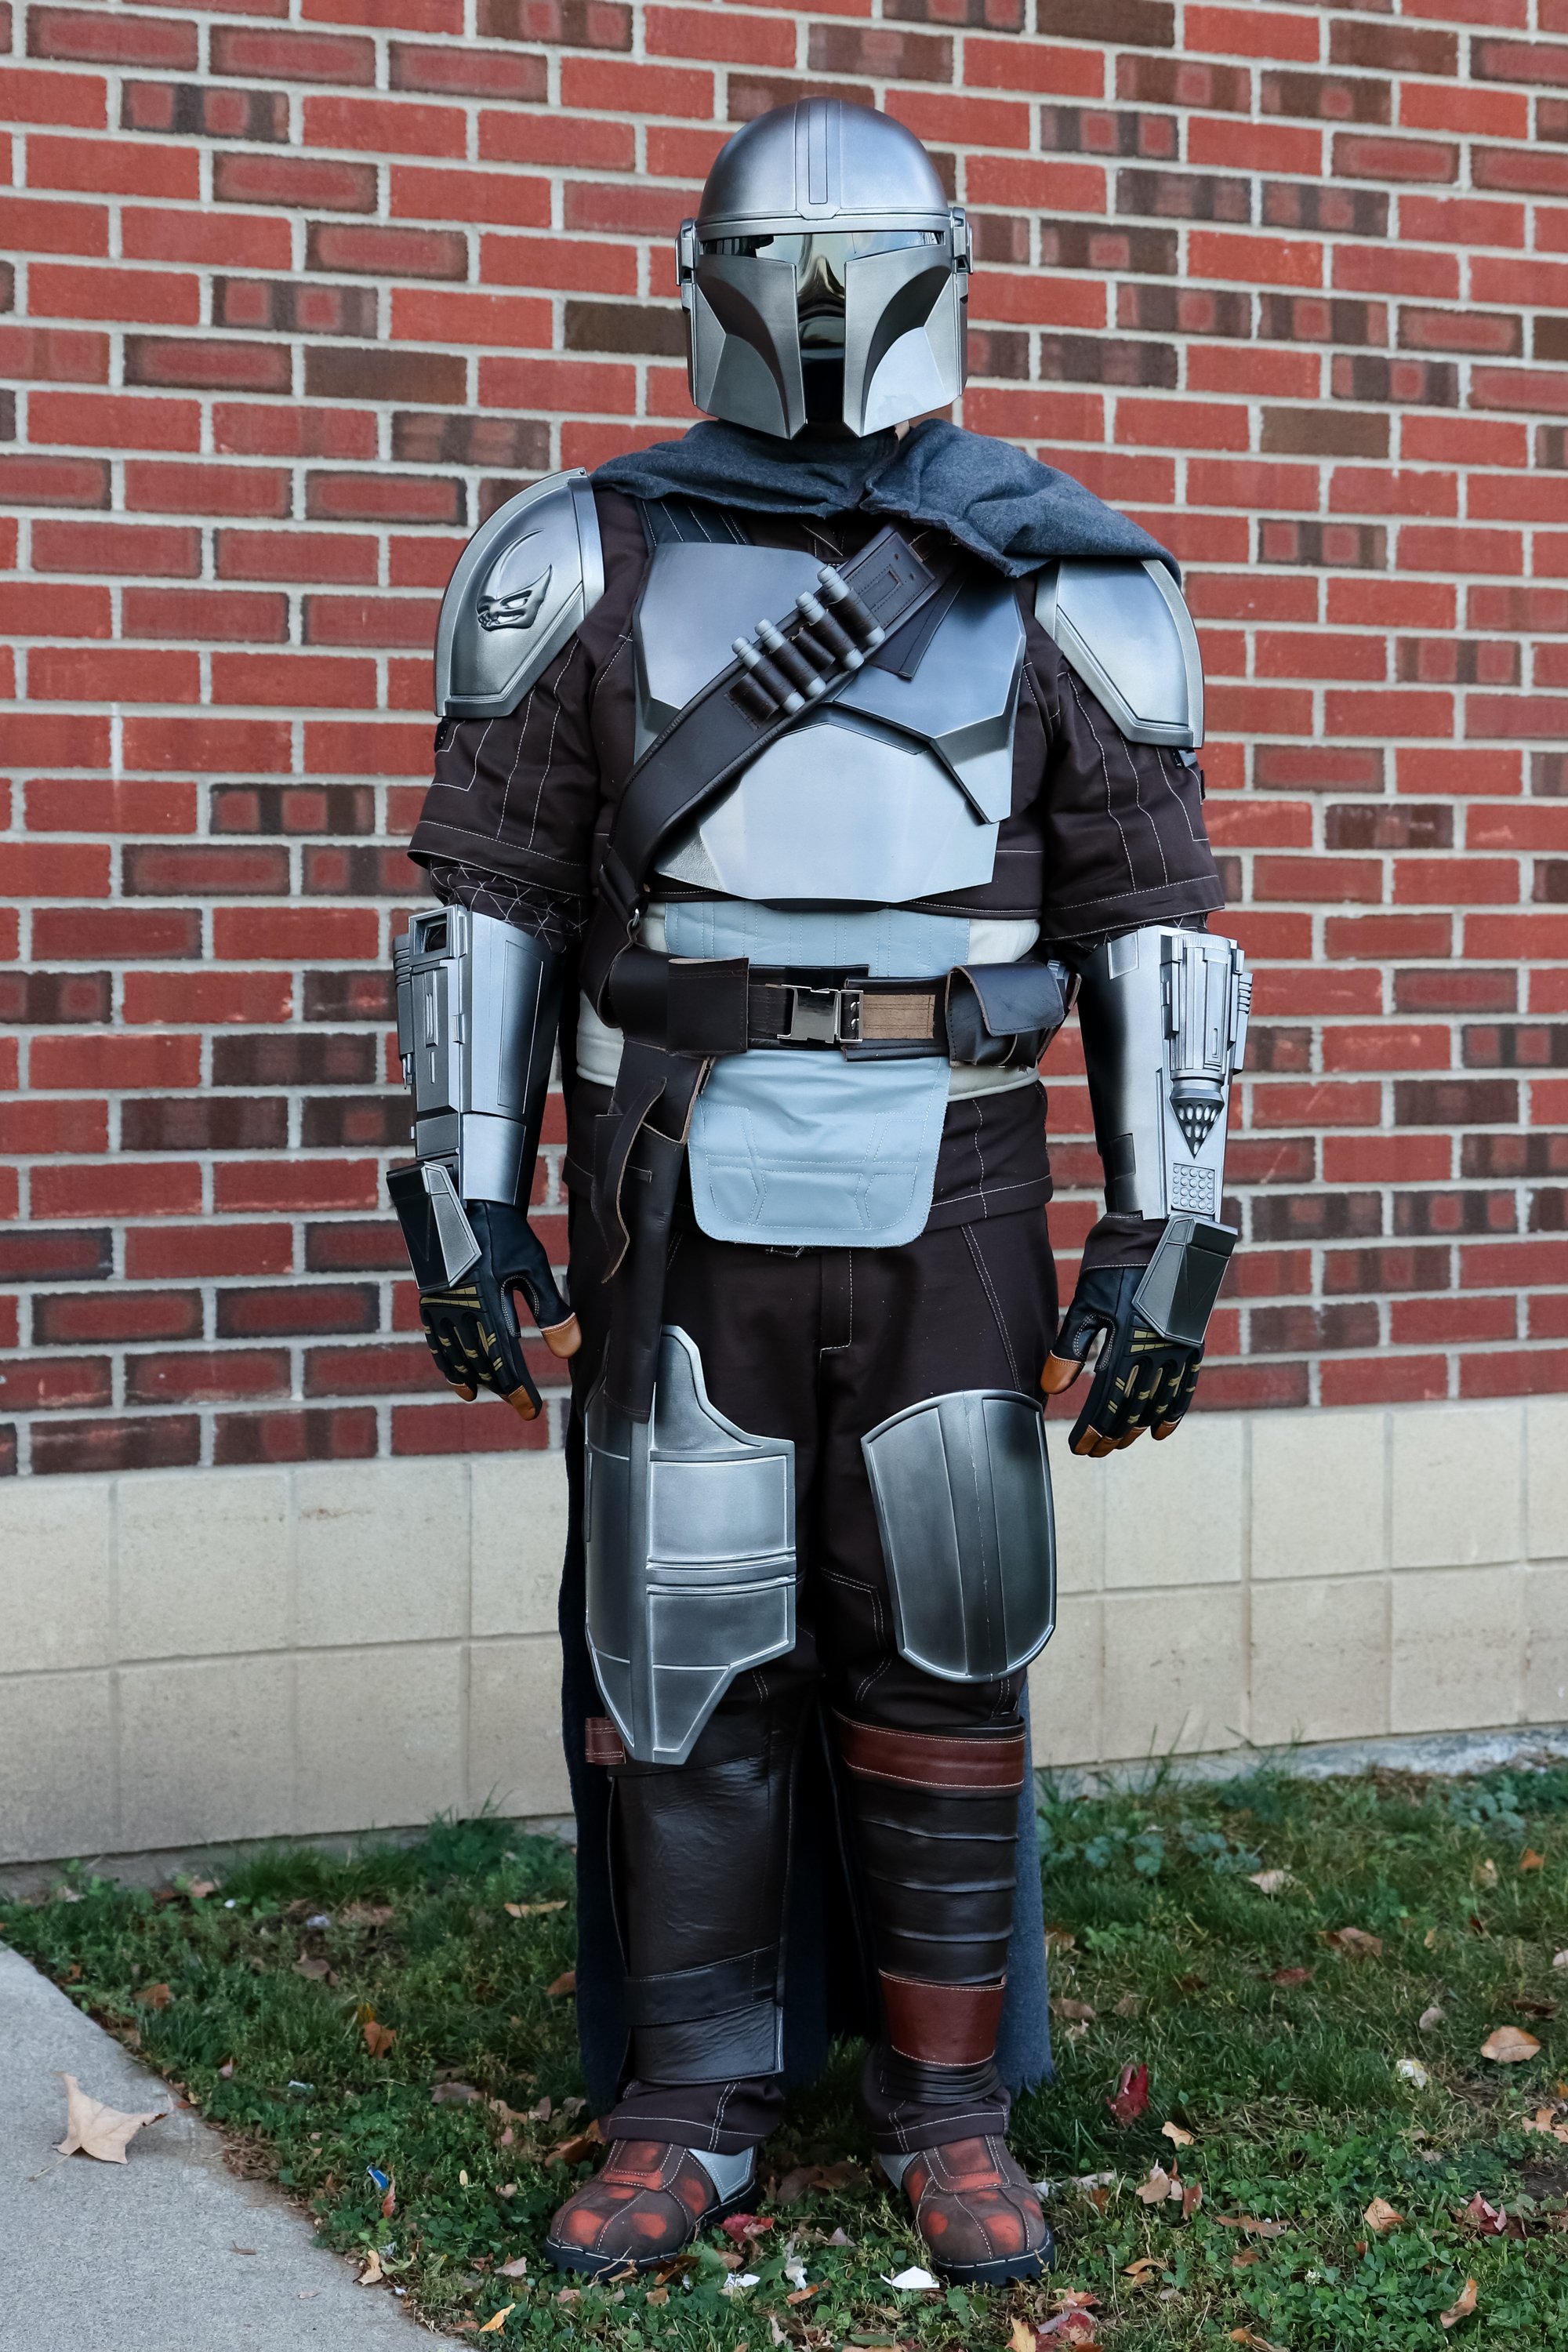
I scaled the helmet at 98.85% so that it would fit on the bed at 45⁰. The fit works for me with padding that is about 12mm thick. 100% scale probably would have been ideal to provide a little more airflow, but I wanted to avoid glueing and filling seams.
Parts were printed on Bambu X1C with Hatchbox Black PETG and using PLA for support interfaces. Typical 0.2mm layer heights with adaptive layers down to 0.12 to reduce banding on the top of the helmet. Scaled the helmet to the 256mm³ print volume as a single part and it fits my big head with enough room for interior padding. Models are from Galactic Armory.
Some actual print times for reference:
Preparing for painting I used progressively finer grit sandpaper and wet sanding from 140-400 grit, alternating with Rustoleum filler primer. Finished with black primer and 800 grit before applying paint.
For paints I used Montana Gold Shock Black for a base layer, then a layer of Spray Max 2K clear coat, and I tried Montana Chrome Effect over this. It was too silvery, so I switched to a powdered graphite rub, alternating 2-3 layers of graphite rubbed into a semi-soft clear coat layer (after only 15 min of dry time per layer).
Leather parts and base suit purchased from UMBLeather on Etsy. Armor is attached with velcro.
The New York Police Department has reportedly seen a 60% increase in ghost guns seized from city streets for the past two consecutive years. NYPD recently traced some online ghost gun sales to a “ghost gun printing operation” filled with 3D printers and firearms nestled within a daycare center.
I have no idea from this if the increase in ghost guns was attributable to 3D printing, or if the increase even represents a significant number.
It also seems like this would be really difficult to enforce. You can buy hardware or kits to build your own printer, or you can buy an old printer off someone else.
All that said, if it represents a reasonable concern and they figure out a way where it’s not trivially circumvented (both of which seem unlikely), I really couldn’t care less about a background check.

Storage is probably the easier aspect to address. Storage is cheap and decentralized storage systems have existed for decades.
The problem is bandwidth and latency. Most residential ISPs do not offer high bandwidth and low latency upstream connections, which means there’s no good way to serve the content you’re storing.
Residential fiber is becoming more common in some areas, but often those residential plans still limit upstream or specifically have terms in their acceptable use policy that forbid such activities. Here’s an example from my fiber provider, which couldn’t be clearer:
You may not use the Services to host any type of server.
It’s a little silly of course, because if you were playing a game and hosting, you’re probably hosting a server! But if I were serving videos to thousands of peers, I’m sure they would notice and take issue.
Richard evaporated, almost instantaneously.